
HS-Audio KIT-M Mini DIY Assembly Review
“Adult Science” is a highly popular Japanese science magazine. Published over ten years and spanning forty issues, it immerses readers in the working principles of everyday objects through hands-on projects. From 35mm twin-lens reflex cameras to ukulele electric guitars and tabletop robot vacuum cleaners, the finished products might be best described as scientific toys, but they’ve garnered considerable popularity among Japanese office workers, maintaining strong sales to this day.
This time, however, the HS-Audio KIT-M mini from Shih Hua Audio offers a similar level of hands-on enjoyment to “Adult Science,” but the assembled speaker is guaranteed to be no mere toy. Instead, you’ll end up with a genuinely high-fidelity bookshelf speaker that delivers serious sound.
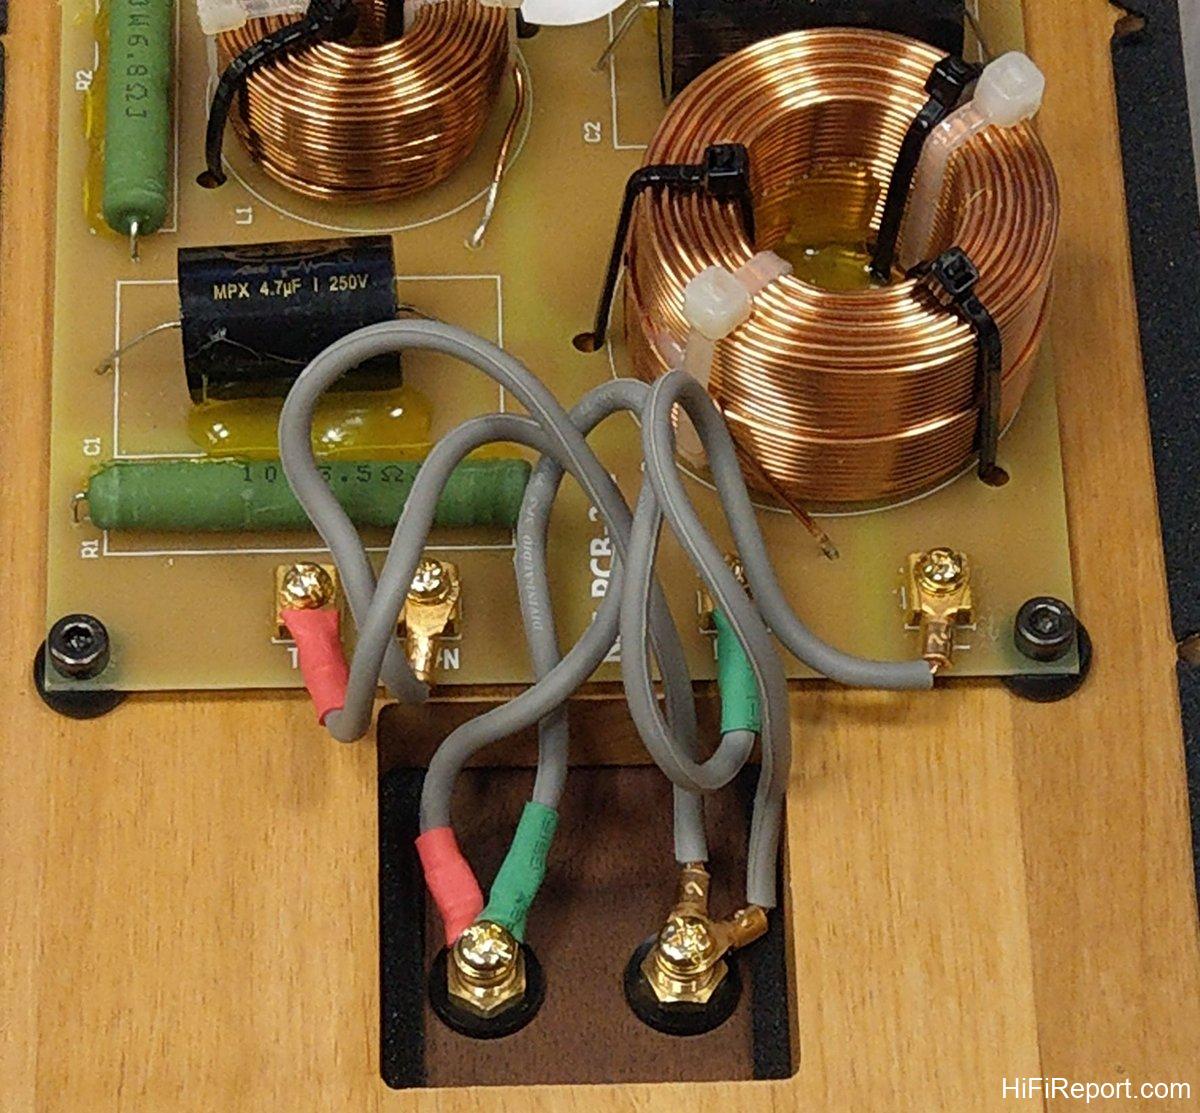
My prior exposure to HS-Audio was limited to audio exhibitions, so I wasn’t deeply familiar with the brand. However, knowing they source components from TianLe Audio for their KIT-M mini DIY speaker provided some immediate insight. TianLe Audio represents esteemed brands like Danish Scan-Speak and Israeli Morel. Regardless of the specific brand chosen, these are unequivocally top-tier drivers. With such high-quality drivers as a foundation, complemented by well-designed speaker cabinets and crossovers, excellent sound is certainly anticipated.
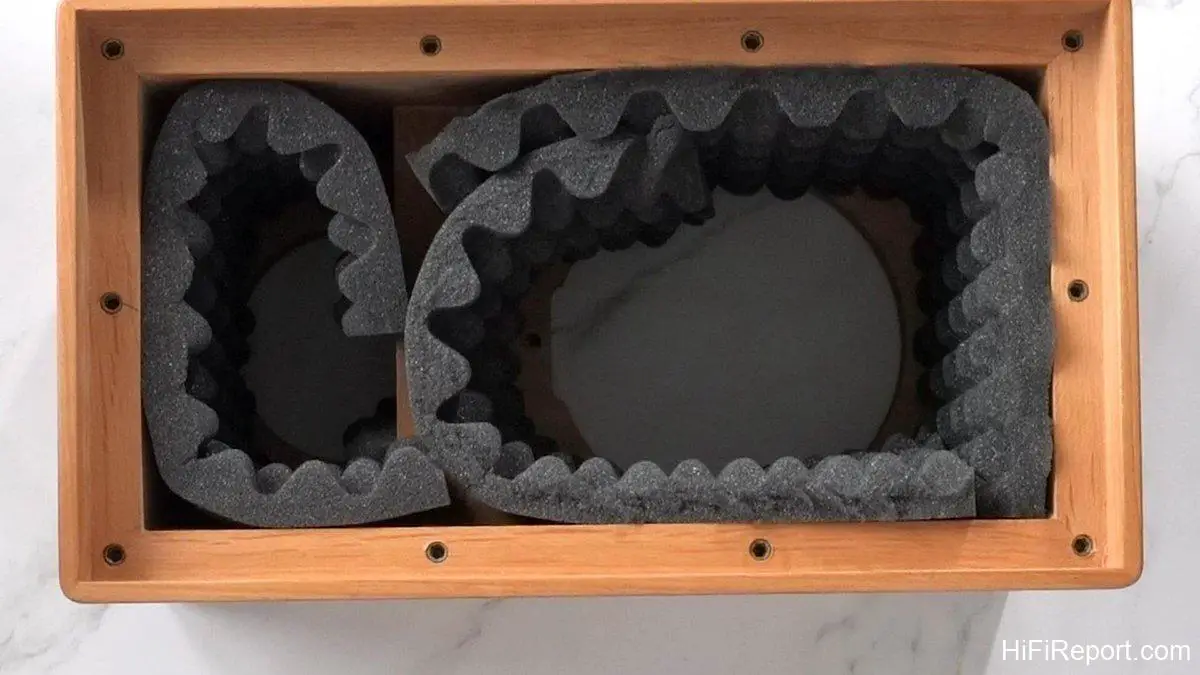
The KIT-M mini arrived with the speaker cabinets individually boxed, while the drivers, crossovers, and wiring were packaged separately. As the editor was taking photos, I unpacked everything, carefully examining the speaker components. I promptly called over editor-in-chief Lin Zhiyu to take a look: “Does this look like a solid wood cabinet?” “Yes, it certainly appears to be solid wood,” the editor replied.
And the price? Reportedly around $744 USD (NTD 23,800). At this price point, securing a two-way bookshelf speaker featuring Morel drivers and a solid wood cabinet is exceptionally good value. It’s important to note, though, that the KIT-M mini at this price is unassembled. You’ll need to get your hands dirty and build it yourself. HS-Audio likely offers an assembly service for an additional fee, but the appeal of the KIT-M mini surely lies in the hands-on DIY experience. Enthusiasts will want to savor the assembly process and explore potential avenues for upgrades.
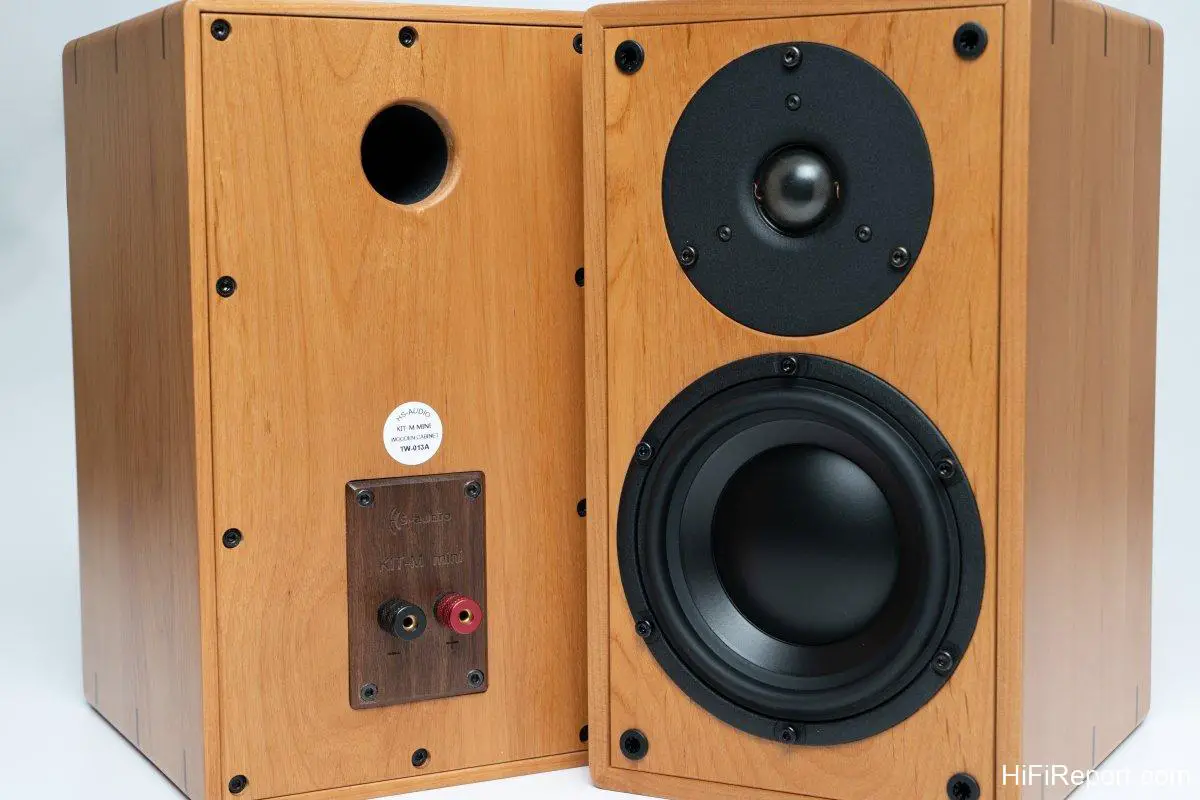
HiFiReport has previously tackled DIY speaker kits from Divini, specifically the KIT-M and KIT-D bookshelf models. Both pairs are still in the HiFiReport lab. Comparing them to the KIT-M mini, the cabinet size of the new kit falls neatly between the two Divini models—larger than the KIT-D, but smaller than the KIT-M. Furthermore, the KIT-M mini exhibits enhanced attention to detail. For instance, the speaker terminal mounting plate is crafted from solid wood, a significant aesthetic upgrade compared to typical plastic plates.
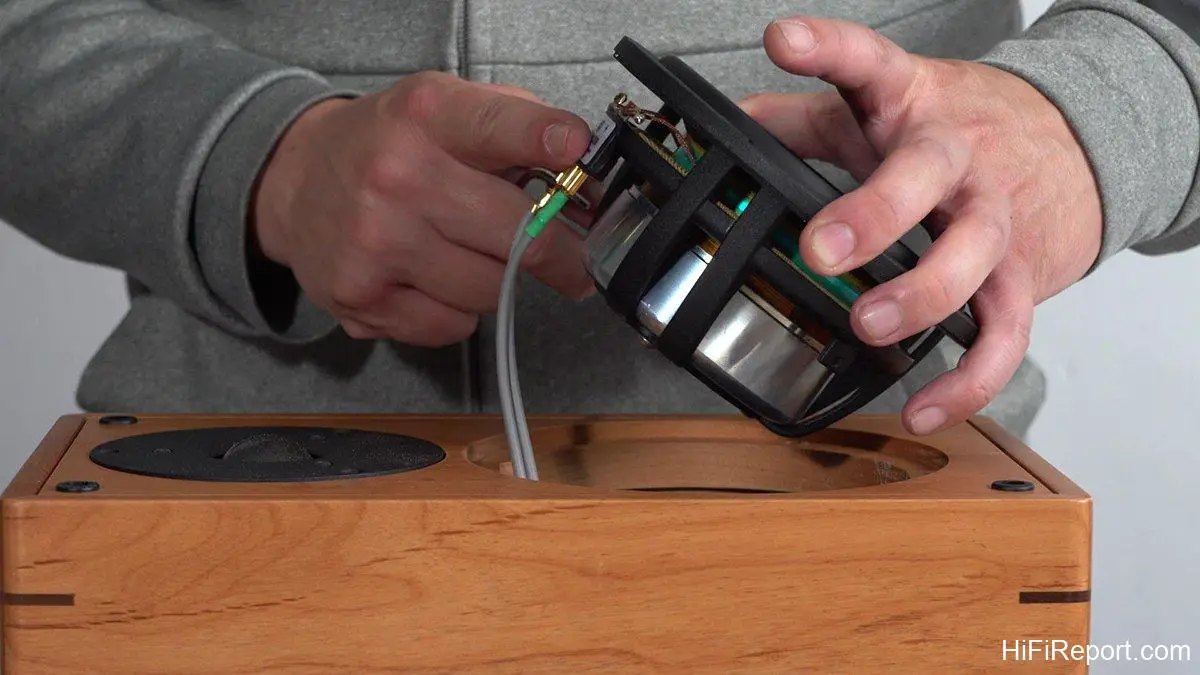
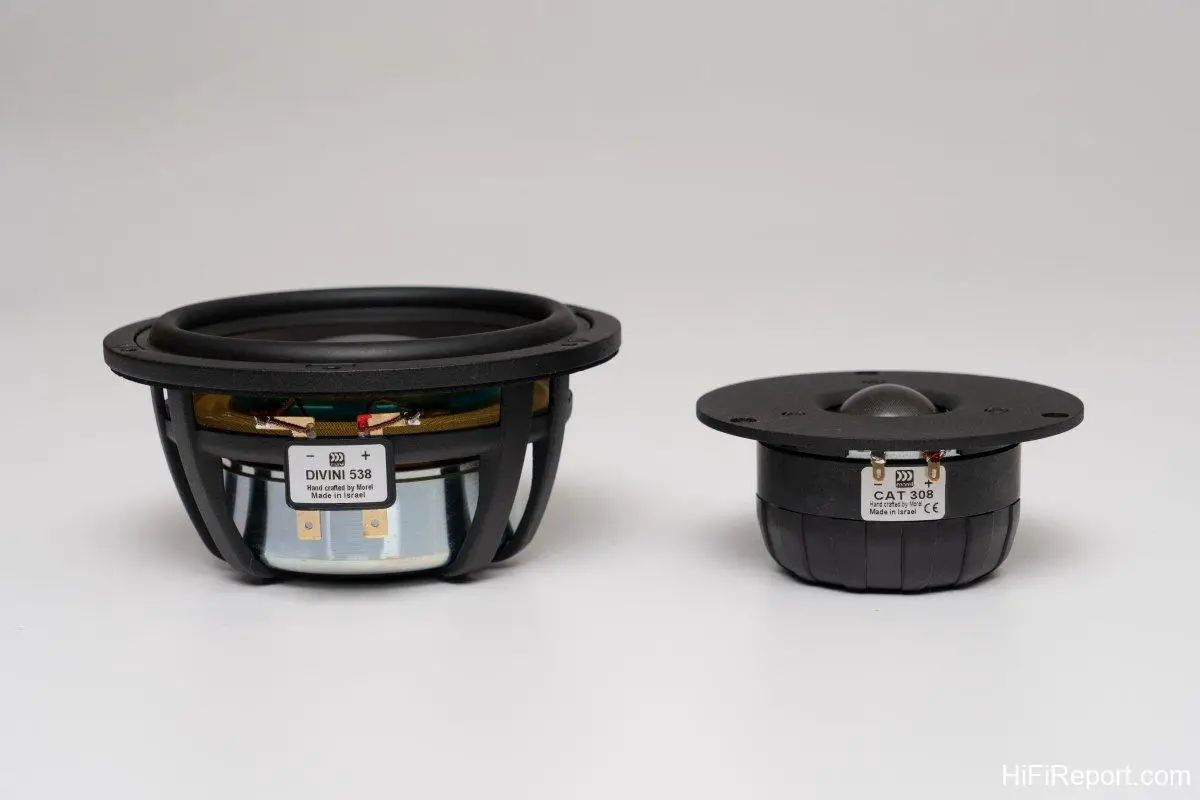
Beyond the size difference, the primary distinctions between the KIT-M mini and the previous Divini DIY speakers lie in the drivers and crossovers. The Divini kits both employed Danish Scan-Speak drivers, whereas the KIT-M mini opts for Israeli Morel drivers. This driver change necessitates a complete crossover redesign to match the specific characteristics of the Morel units, ensuring the crossover design is unique to this model.
The KIT-M mini includes assembly instructions—a single A4 sheet outlining twelve assembly steps. For experienced DIYers, these concise instructions might suffice. However, for those new to speaker assembly, certain details may lack clarity, and the absence of accompanying images or video guidance could be a hurdle. Therefore, I decided to create this practical assembly guide, documenting the process with photos and videos to demonstrate just how straightforward the KIT-M mini assembly is, hopefully encouraging those who might be hesitant due to perceived difficulty.
To do a good job, one must first sharpen one’s tools. What tools are required to assemble the KIT-M mini? The answer: just three! Yes, you read that right—only three tools are needed! Which three? A Phillips head screwdriver, a hex key, and a pair of scissors. It’s that simple.
Before filming, I pre-assembled a KIT-M mini to familiarize myself with the process and pinpoint any areas in the written instructions that might be unclear. I then took detailed photos to clarify these points, creating a visual guide to KIT-M mini assembly. Simultaneously, I filmed the entire process, and our editor will be creating a concise highlight video to further assist builders.
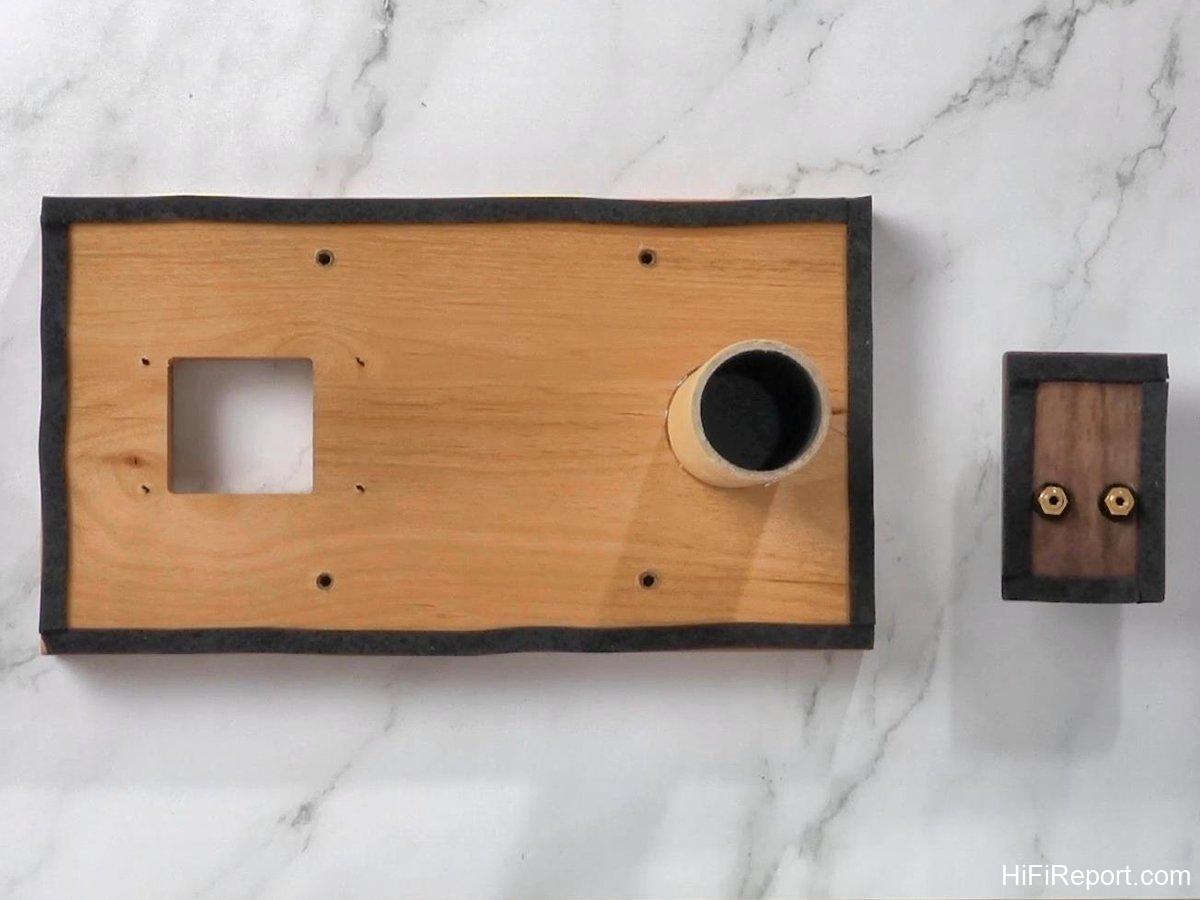
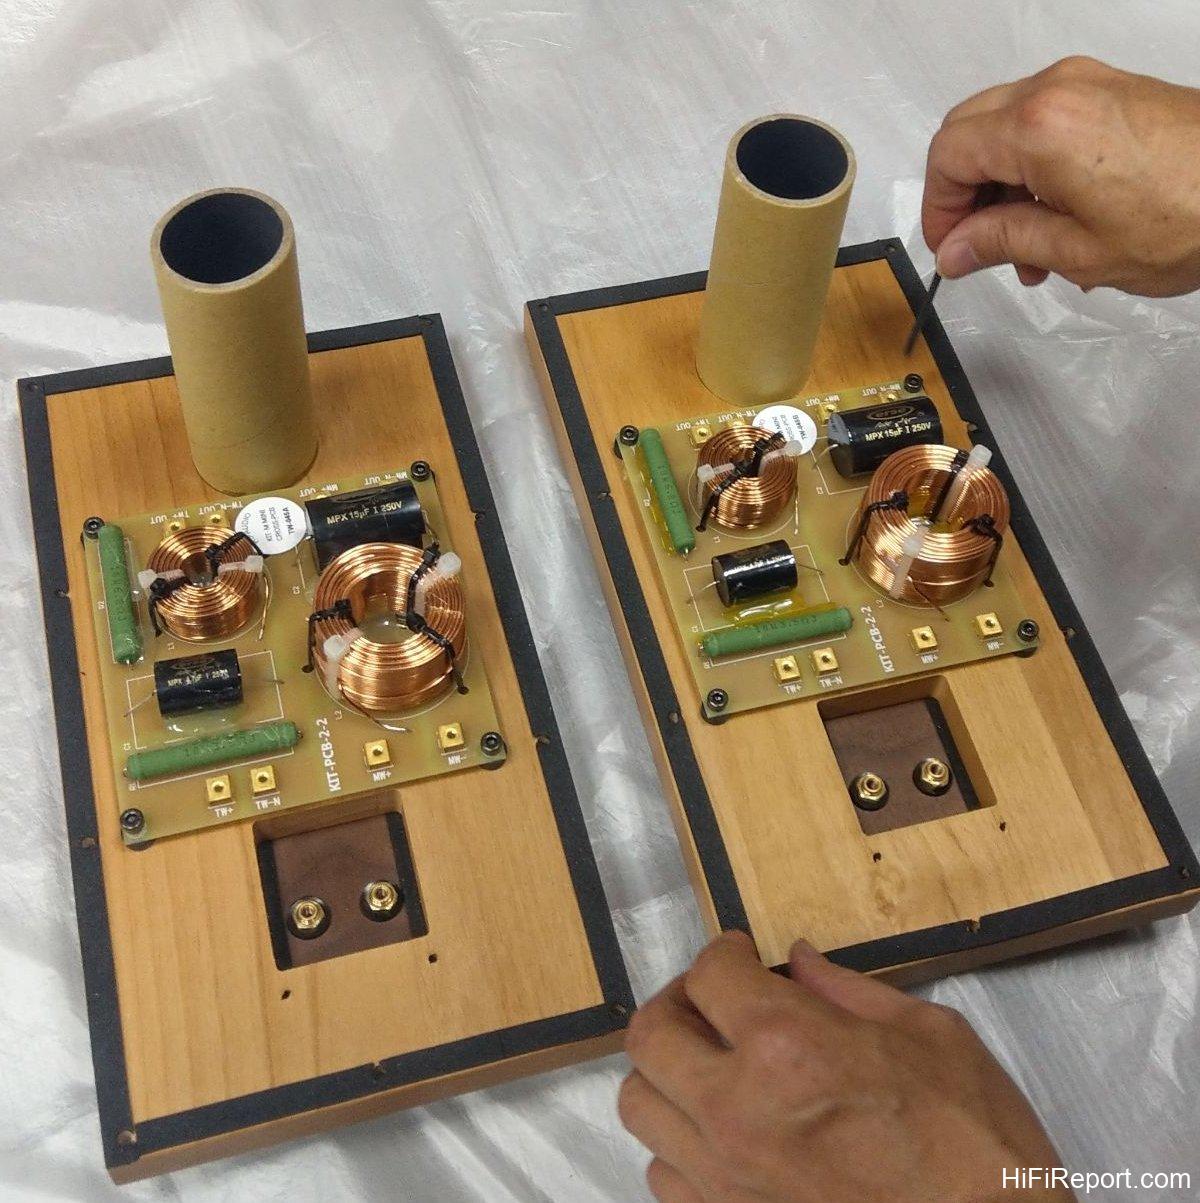
Assembling the KIT-M mini truly isn’t difficult. The entire assembly should take less than half an hour. My process took about an hour due to the photo and video documentation. There are a few minor points to pay attention to during assembly, and we will guide you step-by-step with the following images.
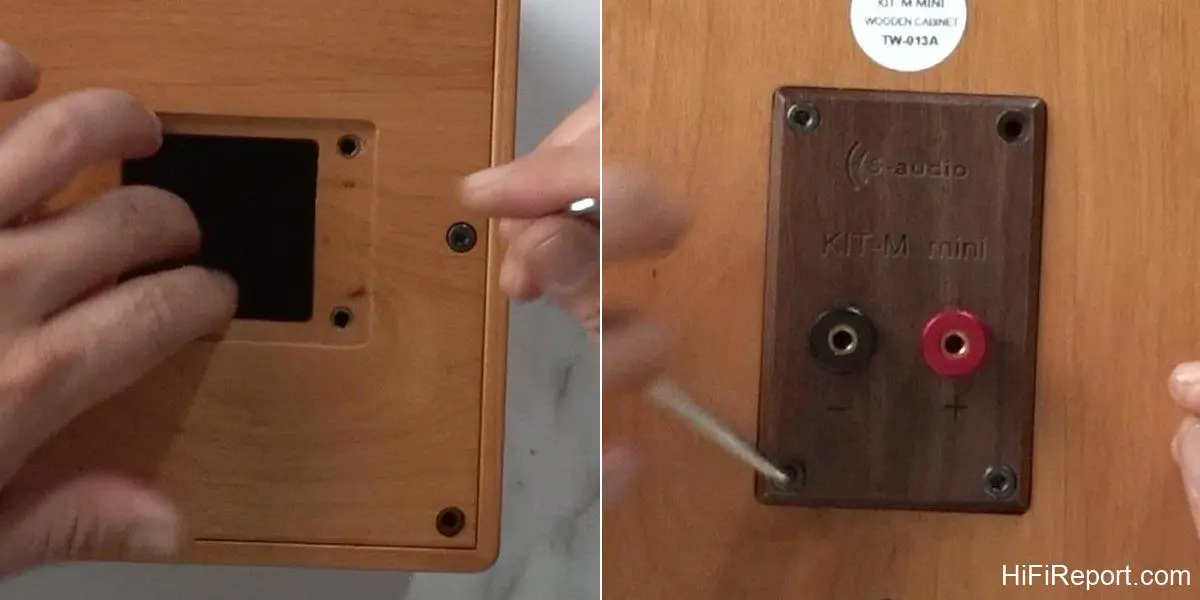
* Detach the terminal plate and sound-absorbing cotton strips from the speaker back panel.

* Screw the terminal plate onto the speaker back panel.
* Connect the speaker wires to the crossover.
* Connect the crossover wires to the terminal plate.
* Place sound-absorbing cotton inside the speaker cabinet.
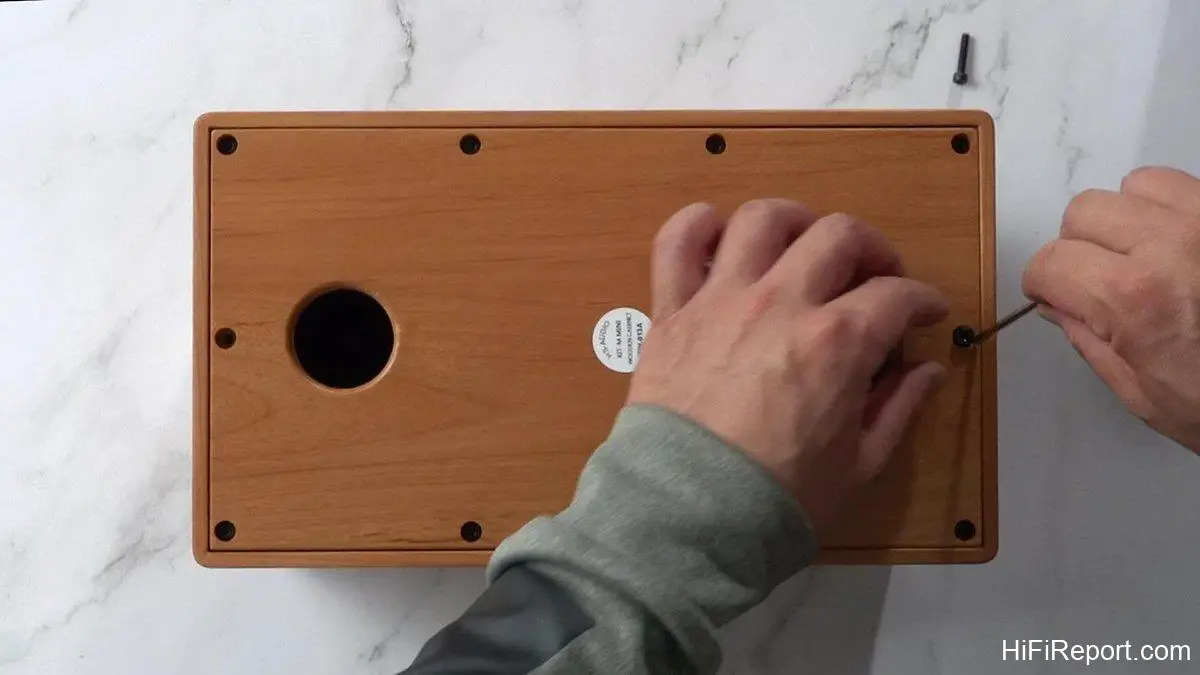
* Screw the back panel onto the speaker cabinet.
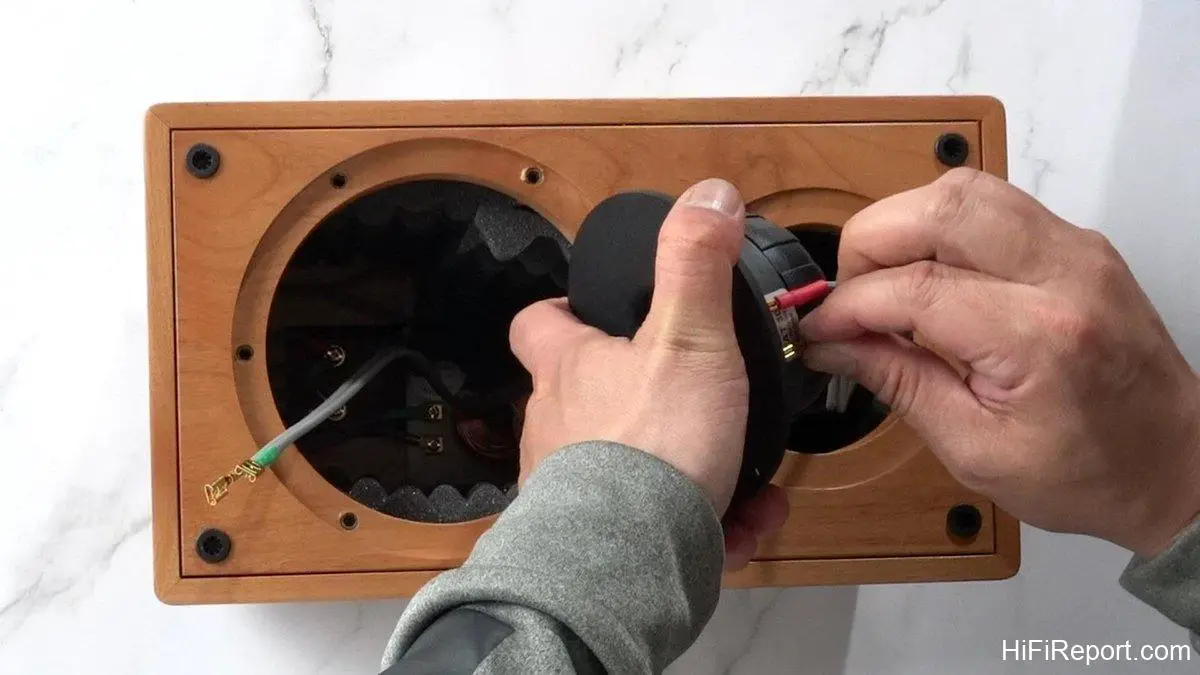
* Plug in the tweeter wires and mount it to the cabinet.
* Plug in the woofer wires and mount it to the cabinet.
* Attach the speaker grill to complete the assembly.