
madVR Envy Core Review
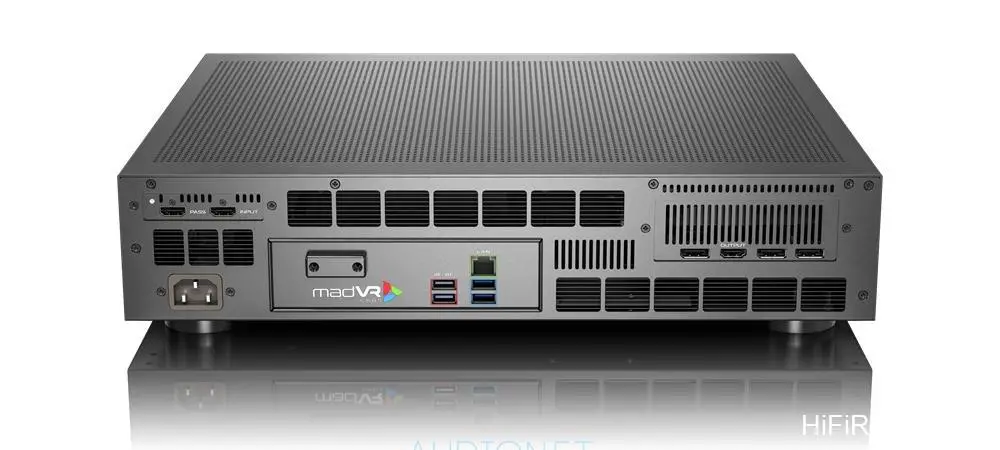
The Envy Core is a significantly more affordable and physically smaller video processor within the madVR family compared to its siblings, the Envy Extreme and Pro. Due to its more accessible price point, it’s less likely to be found in the ultra-high-end professional or custom-installed theaters where its elder brothers reside.
Instead, the Core is perfectly suited for bringing enhanced image performance to home theater systems, improving the visuals on flat-panel displays (including smart TVs and large MicroLEDs) and projectors.

The Envy Core’s primary functions include 4K HDR dynamic tone mapping, aspect ratio transformation, and non-linear stretching. These capabilities allow projectors to seamlessly adapt to different screen ratios, work with anamorphic lenses, and handle varying aspect ratios within a single film to enlarge the image and eliminate black bars.

It also supports professional 1D or 3D LUT color calibration (compatible with Calman and ColourSpace) and includes built-in subtitle management and IP remote control support.

Currently, the most prevalent high-definition video content is based on three performance pillars: 4K, HDR, and wide color gamut. If display devices can effectively “receive” and accurately, sensitively, and completely render this high-quality video onto the screen, viewers will undoubtedly experience an incredibly high level of realism. The realism I refer to here is only partly based on resolution.

More importantly, it relies on the accurate reproduction of light and shadow gradations and color. In my experience, the impact of light and shadow gradation and color accuracy on our perception of realism is often higher than resolution (we are more sensitive to it). The madVR Envy Core’s purpose is precisely to enhance light and shadow gradation and color.
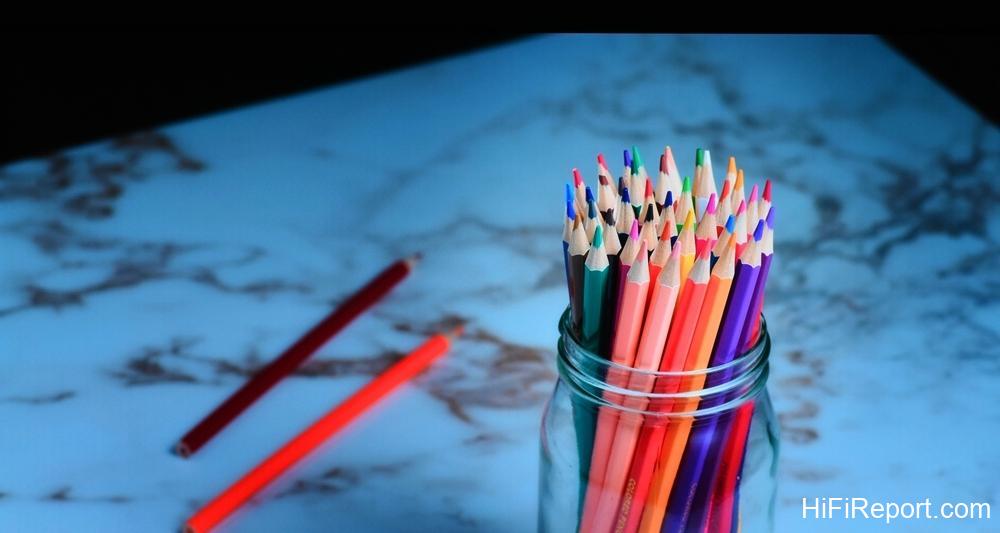
Why Dedicated Tone Mapping Matters
I believe many enthusiasts don’t fully grasp the concept of Tone Mapping. While the Chinese term translates to “color tone,” the primary function of Tone Mapping is related to the brightness gradation from bright to dark. Since display devices already perform some form of tone mapping, why is dedicated processing necessary? This is because the brightness range in the real world, from dazzling sunlight to eerie darkness, is vast.

With HDR shooting now widely adopted, the huge contrast range of light and shadow that was previously impossible to display – especially the brightness and color gradations in highlights – has been captured and produced in 4K HDR video. Creators naturally hope that the final video content retains more of the lifelike realism they witnessed during shooting. The peak brightness of HDR video can be set between 1000 and 10000 nits (though 1000 to 4000 nits is most common).
“Professional-grade” high-end display equipment does possess exceptional capability (there are currently Master Monitors capable of 4000 nits) to fully reproduce the wide dynamic range of HDR video. However, the high-end televisions (smart displays) we use typically have a peak brightness of only 600 to 1000 nits across the full screen (not just localized areas). Most projectors project a maximum screen brightness of only 50 to 150 nits.

Please imagine how difficult it is to squeeze the vast dynamic range of the original HDR content into the limited and much smaller range of consumer display equipment!
Because it is so challenging, there is a significant difference in the quality of HDR tone mapping processing between experienced major manufacturers and most other brands. The biggest differences lie in the extent of highlight detail loss and the lack of clarity in the “ultra-dark” areas near pure black. Developers at these major companies are aware of these issues, and some are highly skilled at fully utilizing hardware performance (particularly image processing chips).

However, under cost constraints, the hardware in image processing circuits can only provide limited computing power. For example, utilizing the chip’s limited processing power to focus more intensely on the “visual focal point” is a way to allocate limited computing resources effectively. If processing performance is extremely high, further image optimization becomes possible.
How the Envy Core Works: Harnessing GPU Power
What these built-in solutions often cannot achieve is the primary mission of the madVR Envy Core. The Envy Core processes HDR video and outputs it as SDR to the display device. Hearing this, you might wonder if something is amiss. Won’t converting HDR to SDR result in a loss of gradation and dynamic range? In terms of peak brightness, household display devices inherently temper it.

Claims of exceeding 1500 nits are usually localized and momentary, appearing only under specific trigger conditions. Furthermore, I’ve measured many televisions where the peak brightness in SDR and HDR modes is almost identical. Therefore, “how bright it should be” depends on the SDR state corresponding to the display device’s capability when handling HDR. Thus, our focus should not be on brightness itself but on whether the Envy Core can improve gradation characteristics.
Since I mentioned “improving,” it implies that it must be stronger than the processing circuits within the display device. Many high-end TVs now use SoC chips that we consider quite good, but the Envy Core uses NVIDIA’s 4060 GPU (Graphics Processing Unit), whose processing performance far exceeds that of typical TV chips. GPUs were originally used in graphics cards (for gaming needs), later for mining (acquiring cryptocurrency), and the most advanced ones are now used in AI.

The Envy Core indeed uses a GPU for AI-based pixel transformation (upscaling), AI-based anamorphic stretching transformation, and madVR is preparing to further develop AI-based 4K HDR dynamic tone mapping processing and AI-based motion adaptive deinterlacing.
Setup and Initial Calibration
After connecting the Envy Core to your display device, initial setup is required. First, select the display device’s mode with the “least image processing” and turn off as many image processing items as possible to give the madVR Envy Core more room to operate. Next, measure the display device’s peak brightness and input the measured value into the relevant options.
Then, use test patterns to assist in checking and adjusting white and black levels to ensure the integrity of gradation at both the bright and dark ends. If you engage a professional, further color calibration can be performed, which might take two to three hours or even longer for a 3D LUT.
Experiencing the Visual Improvement
From an objective standpoint, higher hardware performance leads to greater processing precision. The Envy Core’s main task is HDR Dynamic Tone Mapping (DTM). It determines the peak of the output luminance signal based on the display device’s maximum brightness. It then optimizes the input image frame by frame.
Simply put, it analyzes the brightness range and light and shadow information of each frame of the input video at extremely high speed, adjusting the contrast and grayscale changes of each individual frame in real-time to “utilize the display device’s gradation and contrast performance to its limits.”
How does it look? I actually compared several 4K HDR clips displaying the same scene on the same display device (I used an OLED display for viewing). I believe the biggest difference is in the highlight areas, especially the brightest 10%. Most home display devices find it very difficult to avoid “clipping” the detail in the brightest parts. Specifically, in snow scenes, the approximately 5% area near pure white often becomes “a solid block of white,” making the snow look flat.
However, with the Envy Core processing, the displayed image near the brightest areas still reveals the thickness and shape of the accumulated snow. To put it clearly: most displays lose (clip) the highlight gradation (including brightness and color) that the HDR video originally contained; the Envy Core can help you recover it.
Continuing my viewing, I observed further phenomena: the Envy Core can recover not only details near the brightest levels but also overall light and shadow gradation. Subtle differences in depth within similar color ranges and slight tonal shifts become more sensitive and refined. There truly is no comparison without damage; previously, the “thought” to be linear brightness and color gradients now appear somewhat abrupt when compared to the display state after Envy Core processing.
The Envy Core makes the sense of layering from dark to mid-tones absolutely perfect. I believe this is the main reason why objects in the image appear closer to what we see in reality.
Customizing Your Image Style
I believe it allows video enthusiasts to not only understand but also tangibly feel the resolution of depth and texture. You might find this a bit strange; optimizing gradation certainly enhances the three-dimensionality of objects and the overall sense of depth of field. But how does it relate to texture? The Envy Core also provides numerous options that allow users to set and calibrate their preferred image style.
I won’t go into the basic settings, but it has separate options for “Overall” and “Highlight” color saturation, so you can adjust saturation upwards in bright areas where color is harder to distinguish, if you wish. It also offers Image Upscaling with options for Sharpening or Sharpening plus Super Resolution. Below these are options for Edges, Details, Grain… these allow fine-tuning of sharpness and “texture.”
In the Tone Mapping menu, there’s a “Look” option where you can choose between Nature, Balanced, Punchy, Vivid, and Overcooked, providing five visual light and shadow gradations ranging sequentially from dark to bright.
Therefore, the madVR Envy Core’s function is not just for display optimization; it also allows highly demanding enthusiasts to perform various types of fine-tuning and calibrate the image style they desire. For this reason, I believe high-end enthusiasts, especially projector users, should seriously consider integrating the madVR Envy Core into their home theater system.
Specifications
* Digital Image Processor
* Main Functions: HDR Dynamic Tone Mapping (DTM), Aspect Ratios Management, 3D and 1D LUTs color calibration
* Dimensions (H x W x D): 438x343x104 mm
* Weight: 10.5 kg