
Thorens TD 209 Review
HiFiReport previously introduced Thorens’ latest innovative design, the TD 309 turntable. Its stylish plinth design was a real head-turner. Building on this success, Thorens released the TD 209, which shares the same striking appearance. The primary difference between the TD 209 and TD 309 lies in their suspension systems: the former is a rigid chassis design, while the latter employs a sprung chassis. This distinction allows users to choose based on their sonic preferences.
For this unboxing, we’ve enlisted the help of popular Cosplay model Laira, offering readers a visual treat alongside the turntable review.
The outer box clearly indicates Thorens as a Swiss brand, but the turntable itself is proudly “Made in Germany.”
Upon opening the box, the first items you’ll encounter are the instruction manual, safety precautions, and the manufacturer’s warranty card. Notably, the manual is shared between the TD 209 and TD 206, highlighting their similar design, differing primarily in aesthetics. The TD 206 is the more traditional, rectangular version.
This is the accessory package included with the turntable. It contains the drive belt, a spirit level, a record center adapter (for 45 RPM singles with larger center holes), an L-shaped wrench (for adjusting speed and cone feet height), and RCA signal cables.
The platter, record mat, and alignment gauge are all thoughtfully included by the manufacturer.
A close-up of the platter’s underside reveals its aluminum alloy construction. The holes are for weight distribution and resonance damping. Of particular interest is the inner ring made of a damping material, similar to high-density rubber.
This black acrylic disc serves as Thorens’ new record mat. When combined with the aluminum platter, the manufacturer refers to it as a “two-part aluminum/acrylic platter system.”
Here’s the turntable chassis itself. This review features the Glossy Black version. Like other Thorens turntables, the TD 209 is available in a variety of colors, offering great flexibility for matching your listening room’s décor. This model comes standard with a pre-installed tonearm and cartridge. The factory pre-installs and roughly calibrates these components, so users only need to perform basic adjustments and confirmations, making it remarkably user-friendly, especially for beginners.
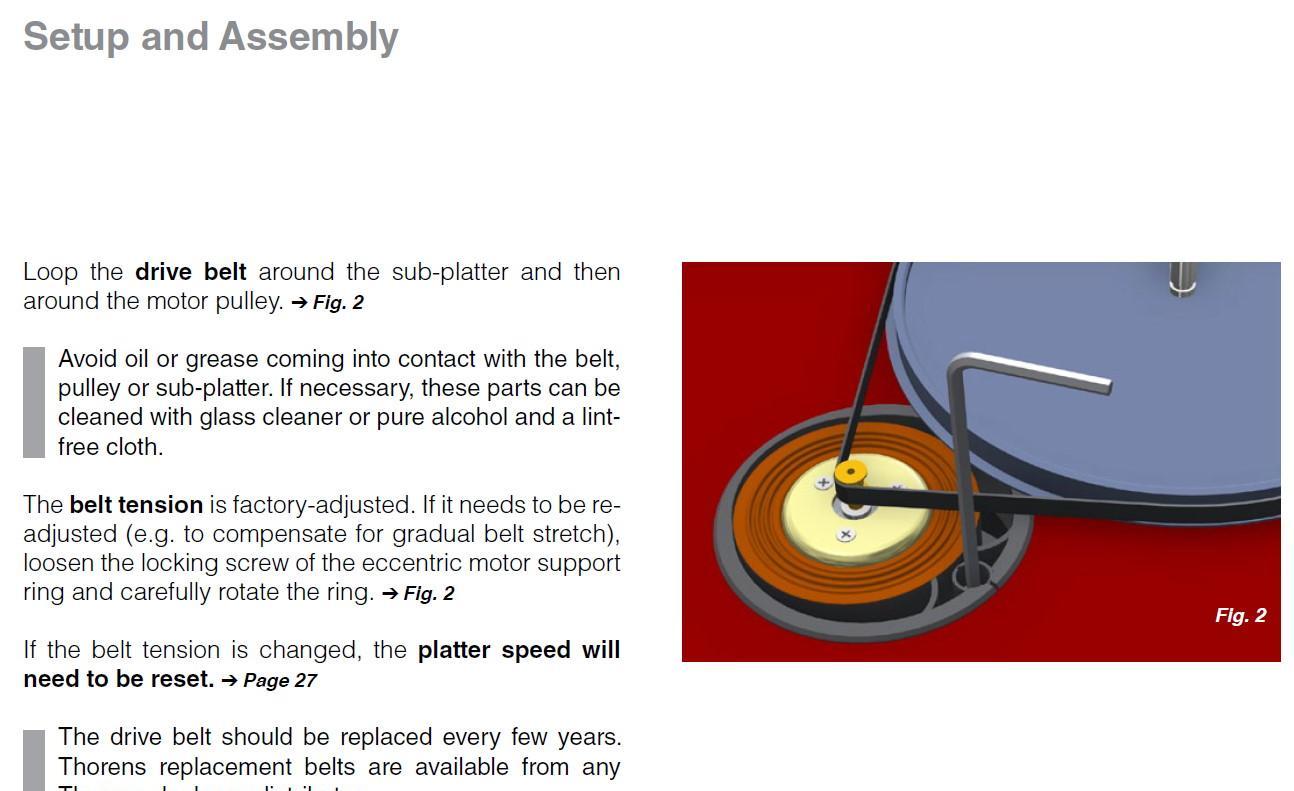
Before placing the platter, the drive belt needs to be installed.
The belt tension is adjustable, which can influence the sound. However, remember to readjust the speed accordingly if you make changes (this is a more advanced adjustment that can be skipped initially).
Place the components onto the plinth in the following order.
Aluminum platter, calibration disc, and then the black record mat.
Next, use the included spirit level to ensure the turntable is perfectly level. Before leveling the turntable, it’s advisable to first level the equipment rack itself. Place the spirit level at the center of the platter. For more meticulous leveling, you can take readings at different points to achieve an overall balanced level.
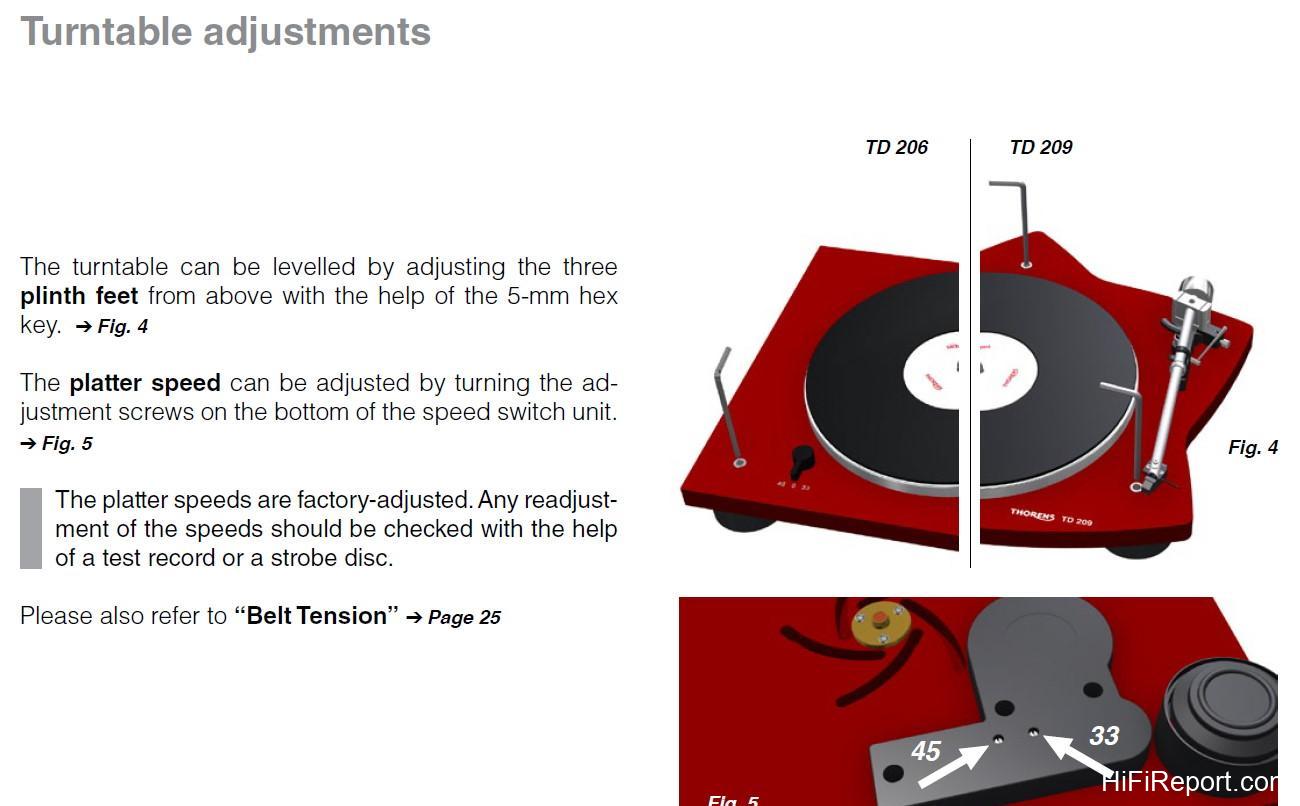
The height of the cone feet can be adjusted from above to achieve perfect level.
Now, install the counterweight. Gently slide it onto the rear of the tonearm. This is used to set the correct stylus tracking force.
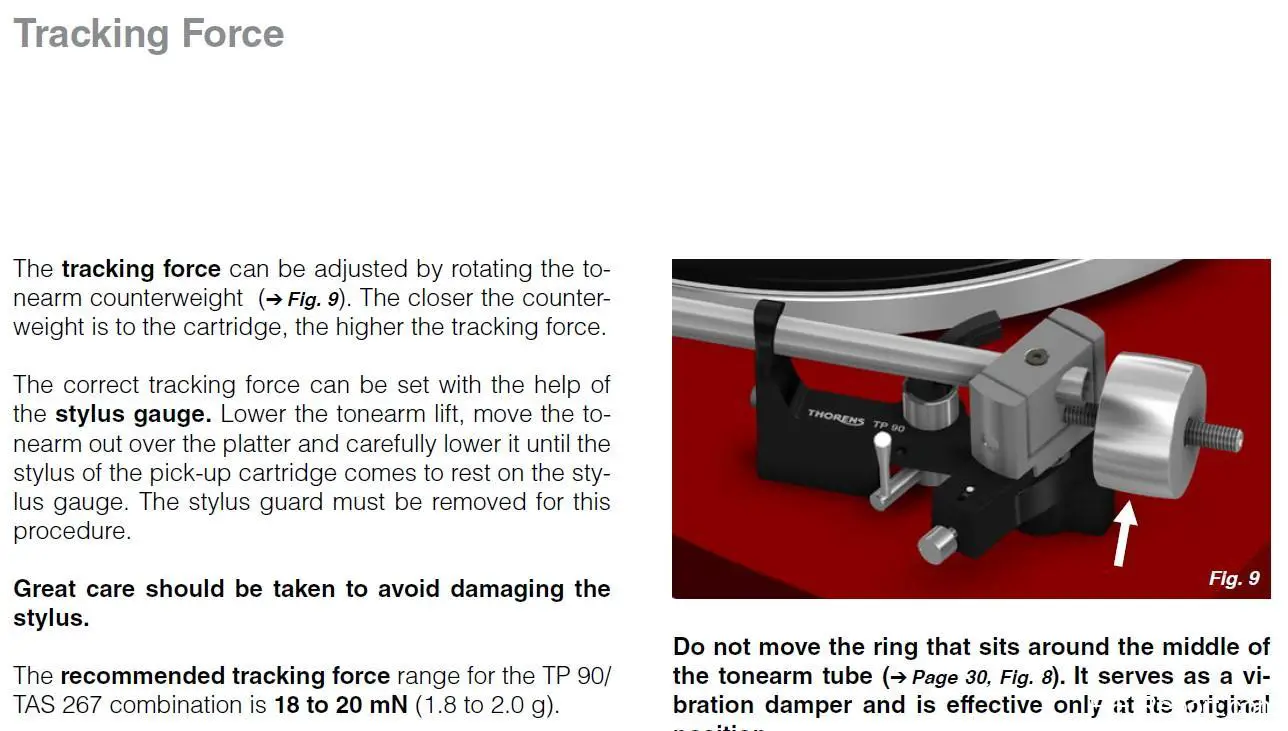
Thorens includes a physical stylus pressure gauge. First, set the desired tracking force on the gauge. Then, carefully lower the tonearm, positioning the stylus onto the red weighting point of the gauge. Adjust the counterweight until the gauge balances horizontally, like a seesaw. This indicates the set tracking force has been achieved. The included cartridge is the TAS 267, and the recommended tracking force is between 1.8~2.0g.
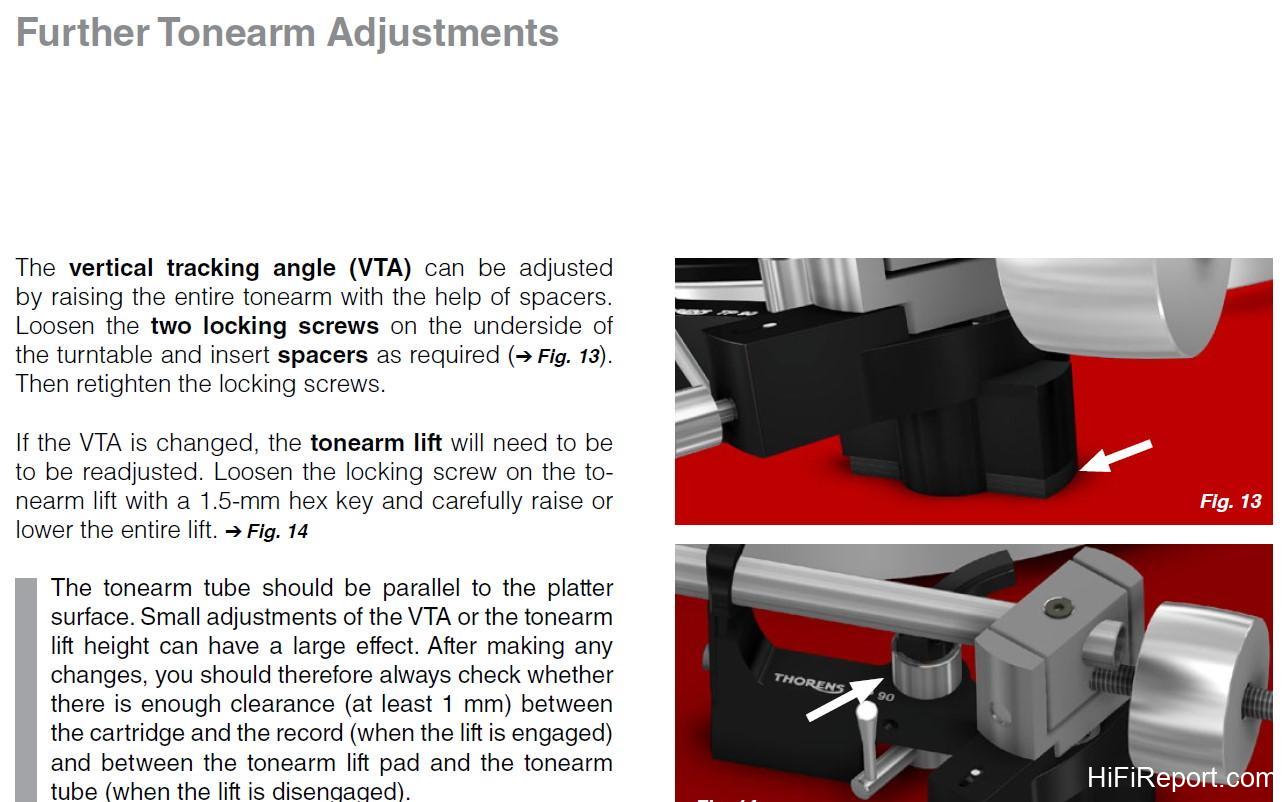
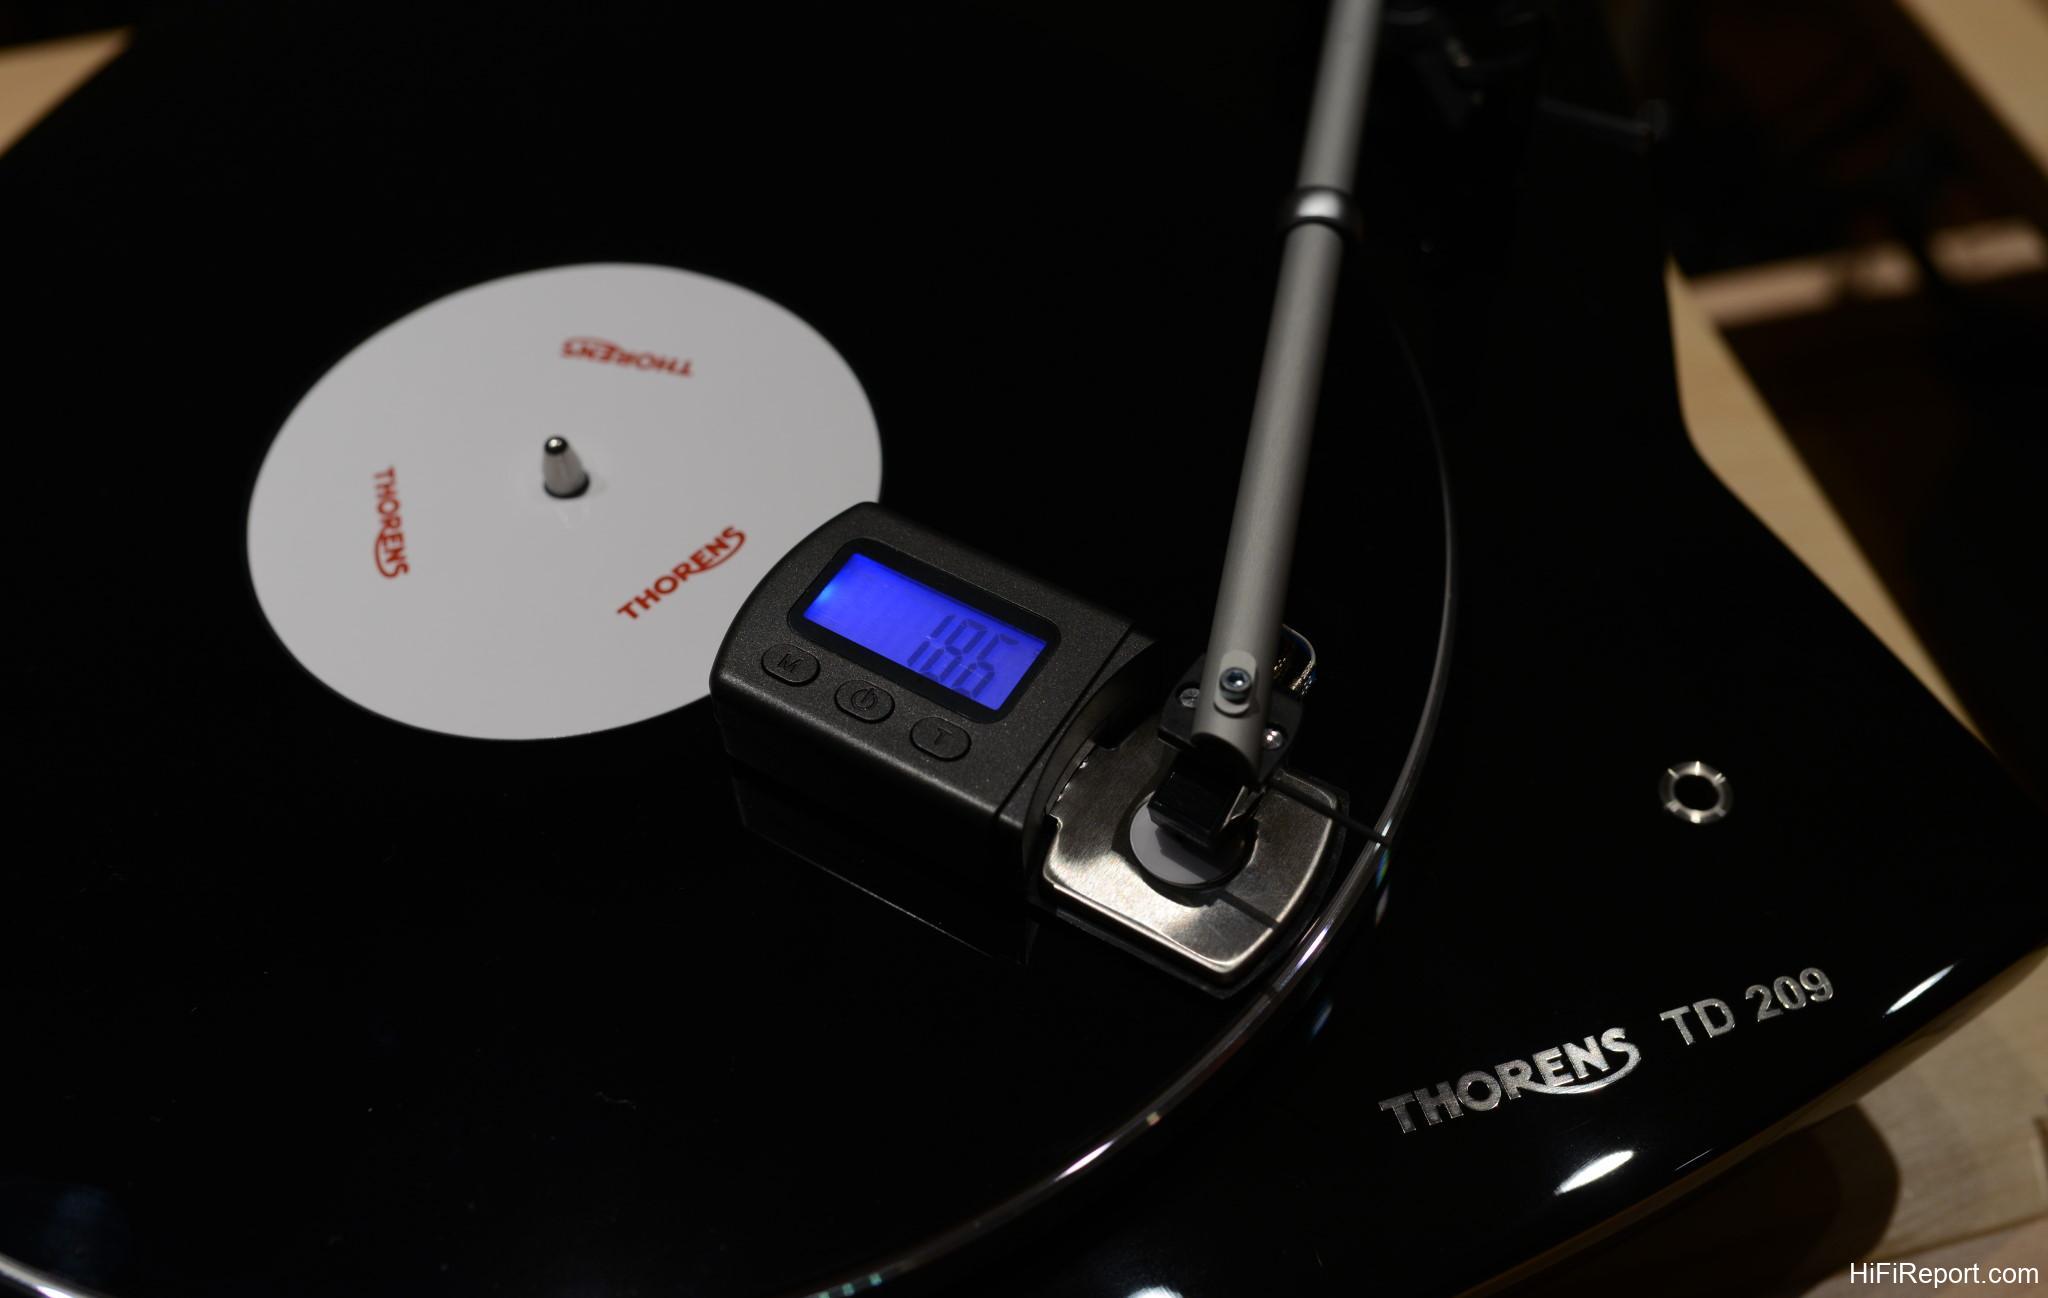
Of course, you can also use a digital stylus scale, which is also very convenient and often more precise.
Adjust the anti-skating, generally starting by setting it to the same value as the tracking force.
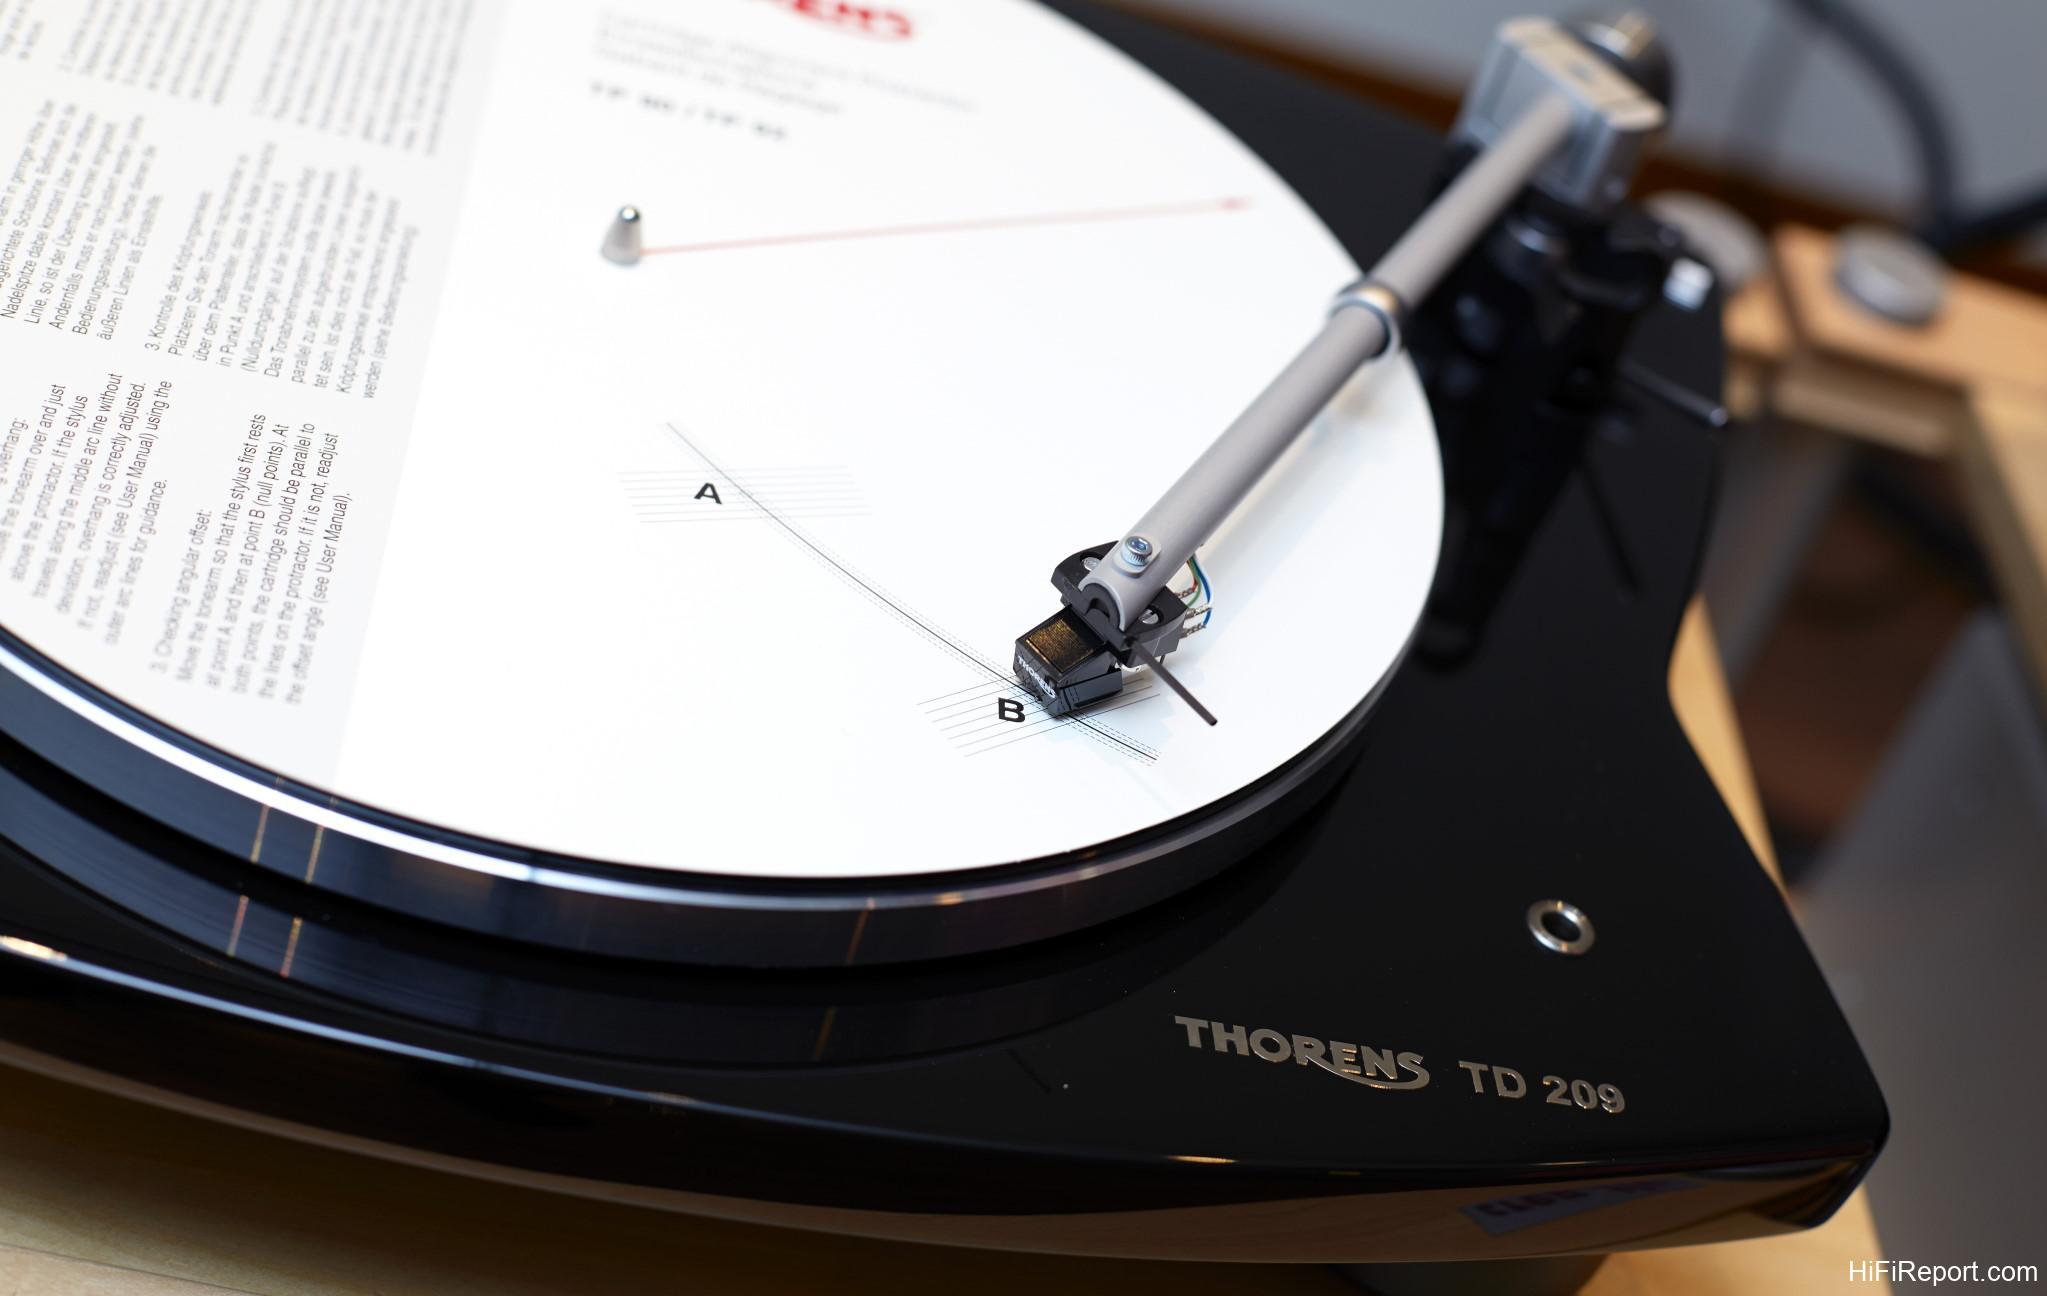
Use the provided alignment gauge to check the cartridge alignment at points A and B (inner and outer grooves). Verify if the cartridge is aligned both horizontally and vertically with the reference lines. The factory alignment is typically very accurate, so adjustments are usually unnecessary.
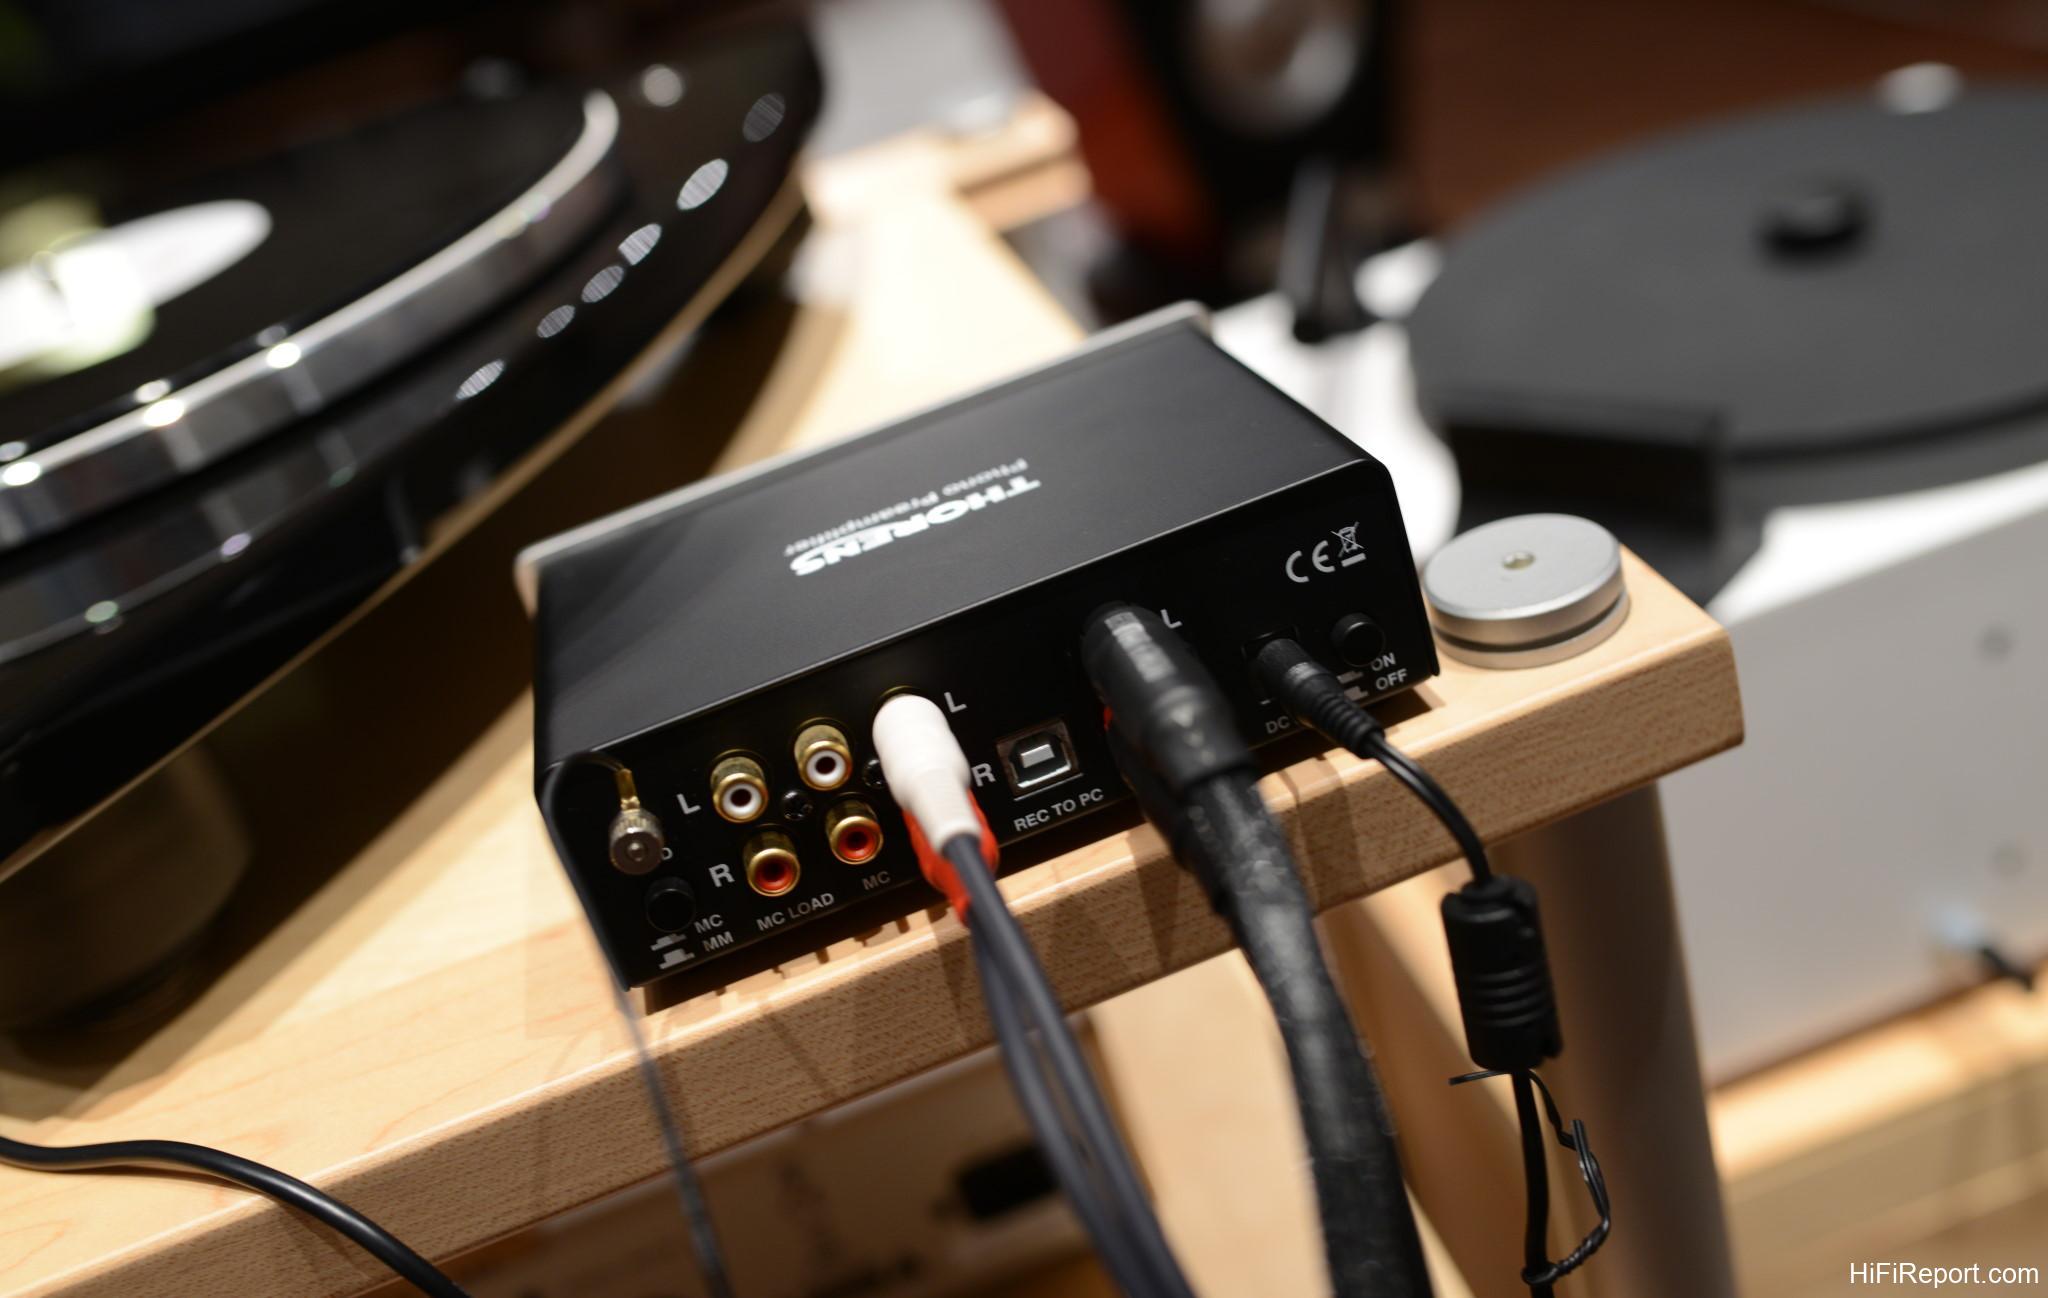
The final step is to connect the cables and the phono preamplifier. The phono stage is a separate purchase. Based on previous listening experiences, pairing with a Thorens phono stage is always a safe bet. In this case, we are using the MM 008 ADC. The “ADC” (Analog-to-Digital Converter) signifies that this version includes a USB interface, allowing you to convert analog audio to digital output. Connected to a computer, it enables you to digitize your vinyl collection!
The MM 008 supports both MM and MC cartridges. Since we are using an MM cartridge, remember to set the switch to the MM position. Additionally, it’s best to connect the ground wire to minimize hum and background noise.
Now, you can finally take out your vinyl records and start playing! If you’re quick, the entire setup process can be completed in about 30 minutes!
Typically, turntables require VTA (Vertical Tracking Angle) and overhang adjustments, but the advantage of purchasing a turntable with a pre-mounted tonearm like this is that the factory essentially pre-calibrates everything, saving you considerable setup time.
After this visual unboxing with our lovely model, I believe everyone has a clear understanding of the TD 209’s features and setup. Even if no one is reading, I still insist on writing down some initial listening impressions. Before formal listening, I re-verified the stylus pressure, setting it within the manufacturer’s recommended range of 1.8~2.0g. Generally, a lighter tracking force results in greater dynamics, so I usually aim for the lower end, around 1.8g.
Another crucial step is to double-check the ground connection between the turntable and phono stage to ensure it’s secure.
Confirm that the phono stage is set to the MM input. Accidentally setting it to MC with an MM cartridge might result in excessively loud and distorted sound, so exercise caution. Conversely, if an MC cartridge is connected to an MM input, it’s less risky, simply resulting in lower volume.
I selected Hans Zimmer’s “Inception” soundtrack. On a hot day like today, listening to a clear vinyl record feels particularly refreshing. Hans Zimmer’s music is always evocative, and this soundtrack is exceptionally well-produced, instantly transporting you back into the film’s narrative.
From the initial listen, this system effortlessly passes the first test, demonstrating the liveliness and dynamics expected from a vinyl setup. The overall sound is remarkably natural, suggesting that the upcoming listening sessions will be thoroughly enjoyable.
Specifications
* Drive system: Manual
* Motor: Belt drive (flat belt around sub-platter)
* Speeds: Servo-controlled DC motor
* Adjustment range: 33 ⅓, 45 rpm ± 5 %
* Speed change: Electronic
* Platter: 12” / 0.9 kg (aluminium, acrylic)
* Power supply: External plug-in power supply, 12 V DC/AC, 6 W min. * Dimensions: 470 x 125 x 430 mm (W x H x D)
* Weight: 4.7 kg